 My WWII Desert War project advanced this week as I manged to rebase all my 8th Army and Afrika Korps infantry, artillery and anti-tank gun stands. That's over one hundred and thirty stands rebased. Why rebase? Well the rules I'm intending to use the toys for, Battlegroup Panzer-Grenadier and Poor Bloody Infantry, can be played using the three infantry on 1 1/4" square bases that we were using for Command Decision all those years ago. But I've decided to use different command stands and my PBI command stands are now all three models on a 1 1/4" circle and my command stands for BPG are 2 figures on a 25mm circle (that's a 2p piece) for platoon commanders, a 1 1/4" (30mm) circle for company commanders and multiple figures on larger irregular bases for higher level commanders. So I had to do some rebasing.
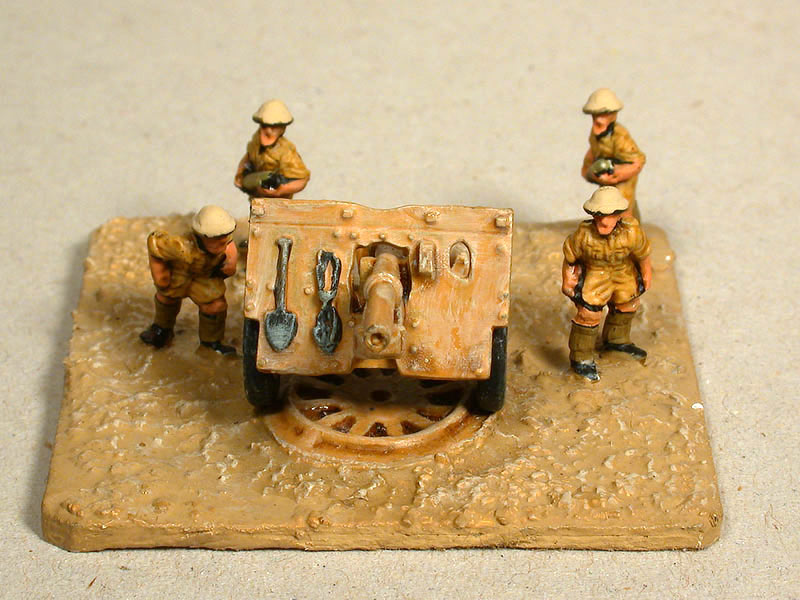 And because my new bases (above) look so much better than my old bases (left) I decided just to rebase everything.
Here's how I do it.
 1) I glue the painted figures onto a base made out of 2mm MDF, in this case a 2" square. I buy these bases precut from Tony at East Riding Miniatures. They're available in custom sizes and unlike cardboard they don't warp. The base has been prepainted using Dulux Trade Emulsion, Tawny Crest1. This paint is available from B&Q in 250ml sampler pots for about £2.
 2) Then I glue my texturing material onto the base using thinned down wood glue. At the moment I am using Games Workshop's Modelling Sand but they've just put the price up to £4 for a small tub and I'm investigating cheaper alternatives.
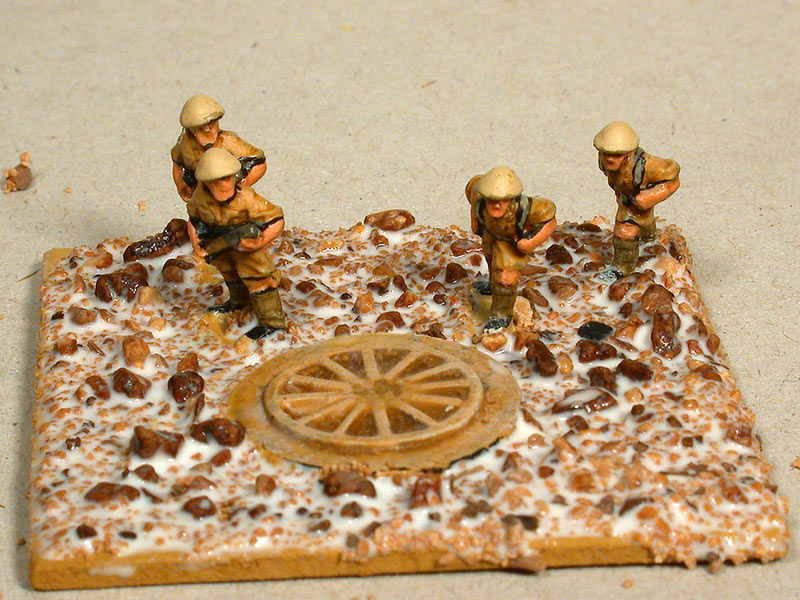 3) I then cover the base with a thinned down mix of wood glue.
 4) When the gravel mix has set solid it looks like this.
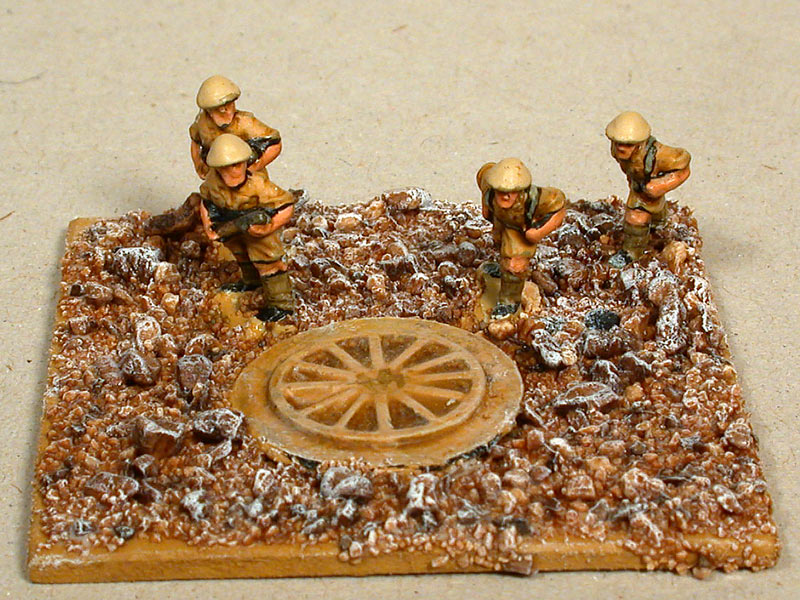 5) Then I drybrush the base white.
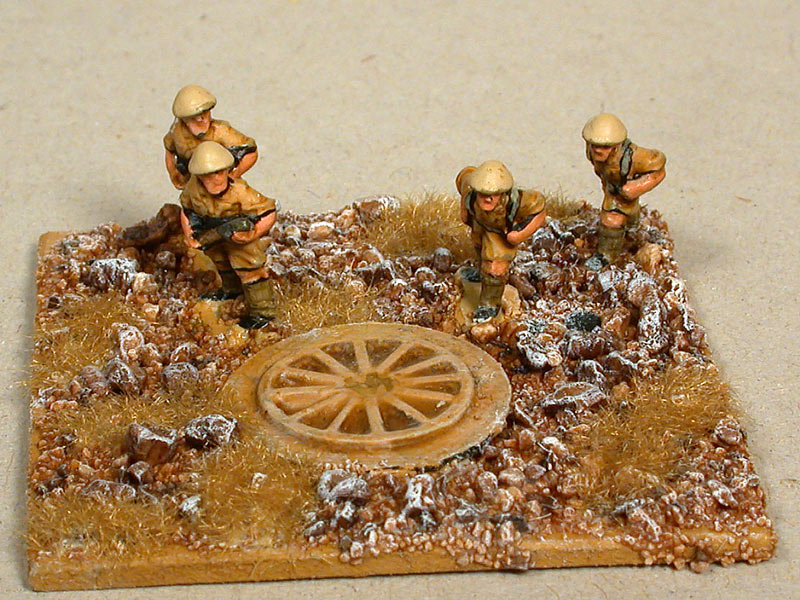 6) Finally I glue on some static grass, again using thinned down woodglue. In this case the static grass is Harvest Gold from Woodland Scenics .7) The finished article
4 comments:
Liked your article on rebasing the figures.
Regarding GW's sand, you could do worse than get a sack of sand from B&Q for less than £2. Dry it in the oven, sieve it if you like, and let it cool down. Then it is ready to use. I use plasterer's sand because it is the cheapest.
I've started using Ballast from Woodland Scenics. I'm willing to pay a slight premium for a product that's more consistent than sand from B&Q and I like to have a good mix of grain sizes in my mix.
You don't get this variety of grain sizes with B&Q builders sand and, at least when I last looked, they don't have a suitable gravel to mix with the sand.
I recommend blagging sand from Hill & Trail Landscape Services (courtesy of Dougie Trail Esq.). They supply it for free, and if you ask nicely it comes regular or extra rocky. You just dry it under a lamp overnight and away you go... I've also resorted to nicking some from the kid's sandpit in the local park, but that usually means sieving it for used hypodermics, razor blades and kiddy poop.
CHeck out this site:
http://www.fjexpeditions.com/frameset/mar08.htm
Post a Comment